
Welcome
Join me as I Craft, Cook, DIY, Garden, and create beauty on a budget all while celebrating life’s simple joys.


Catch up on the latest
See All >

Get the latest in your inbox!
Delicious Recipes for your family
Here you will find all of my favorite cravings! From main dishes to sides and desserts, I have all sorts of goodies that you are going to love.


Browse by Diet:
Meet the author
Welcome! I’m Kristin
I live in sunny San Diego with my incredibly handy husband, 3 teen boys, and 3 crazy dogs. I love to share my love for DIY, crafts, recipes, gardening and so much more. My husband and I have enjoyed turning our suburban home into our dream home while remaining functional and practical. We hope to show you it is possible to create beautiful spaces fit for busy families on a budget. I try my best to live a happy, healthy and beautiful life, inspire and be inspired, and embrace my imperfections.
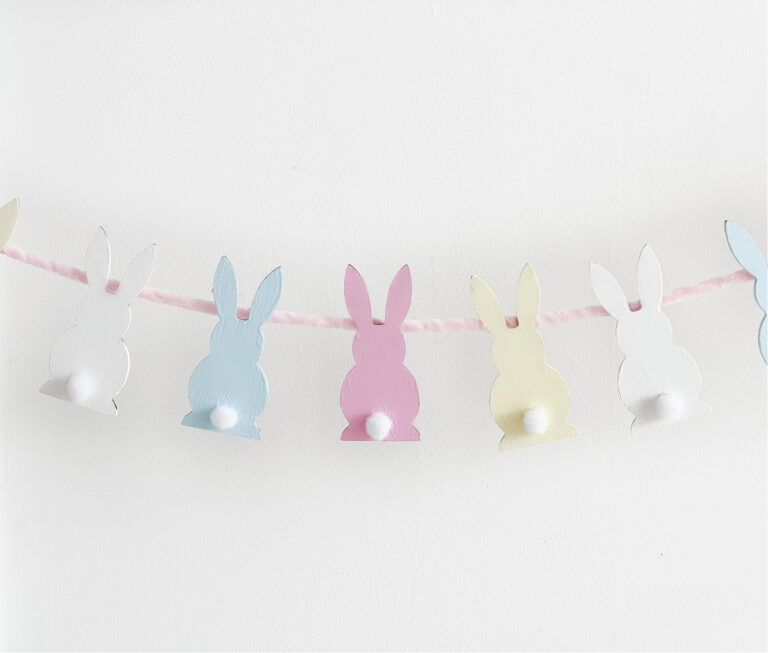
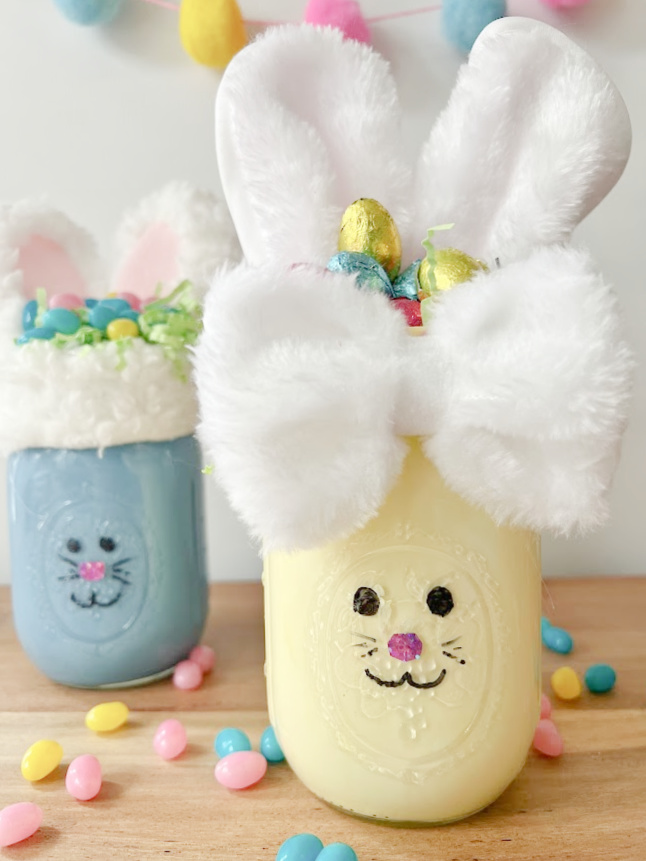
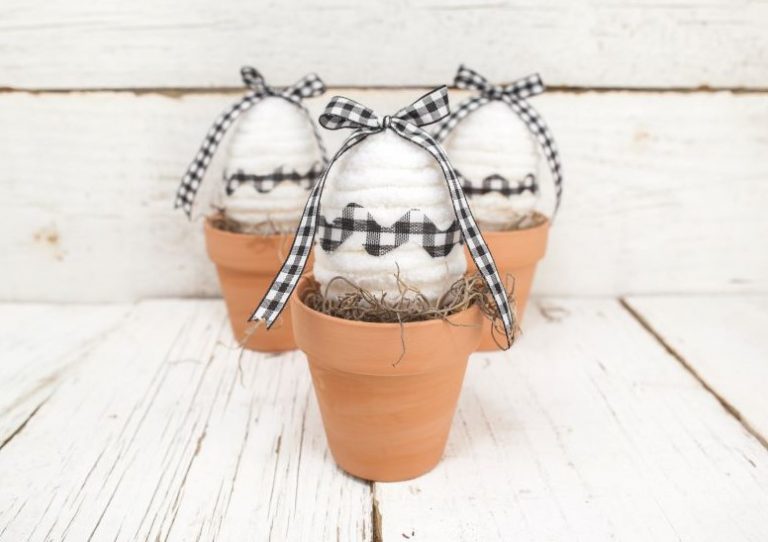
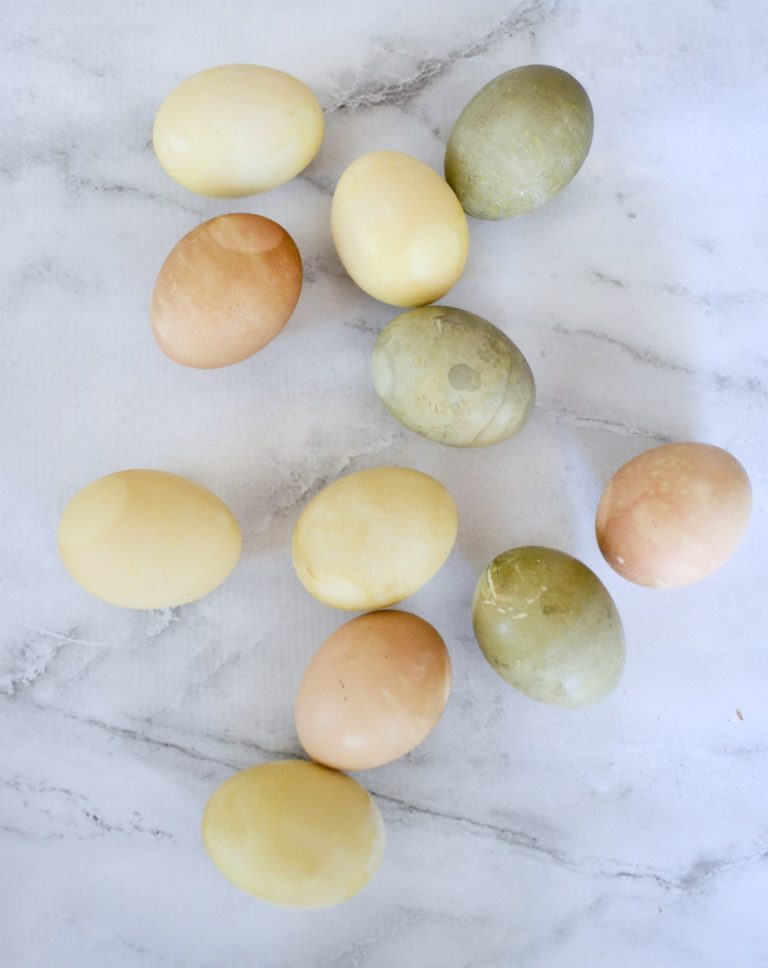
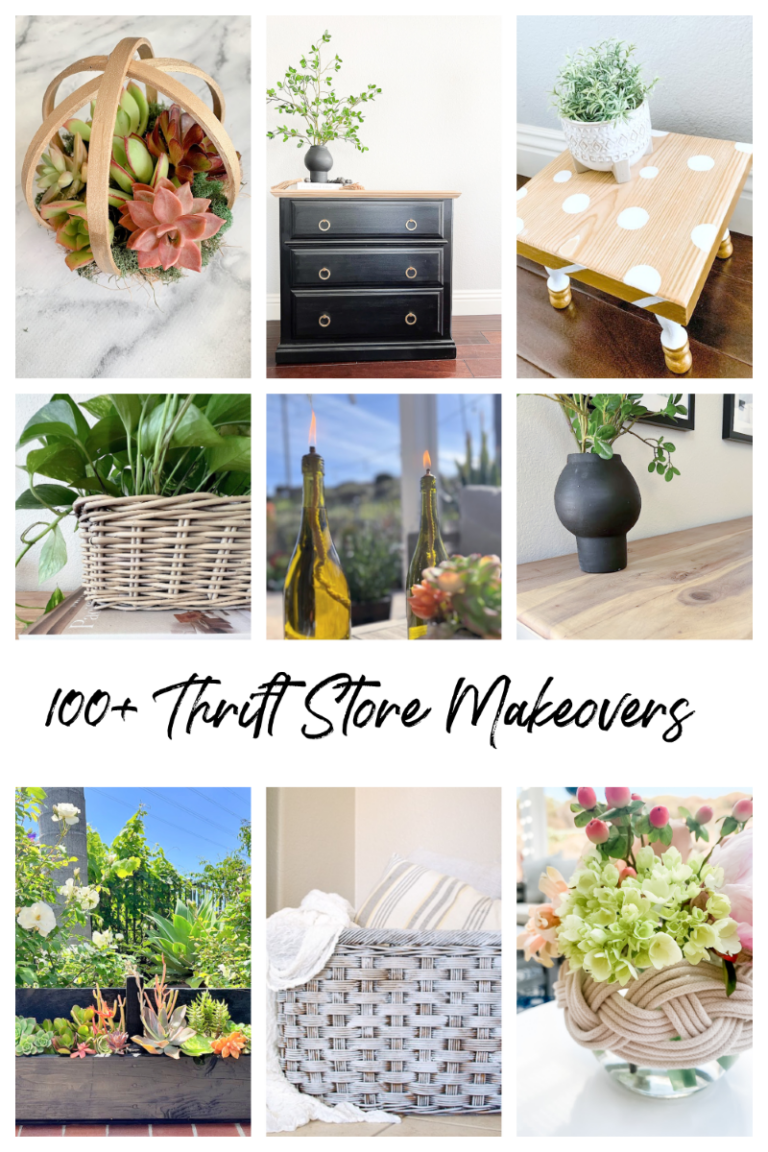
Craft Ideas and Tutorials
Do you love to craft? Here you will find craft ideas for every holiday and season plus so much more!


See All >
Download your free work from home printable.
Over 30 pages!!! Manage your time, get organized, structure your day and plan out your week so you can have more free time to enjoy all the other beautiful things in life!
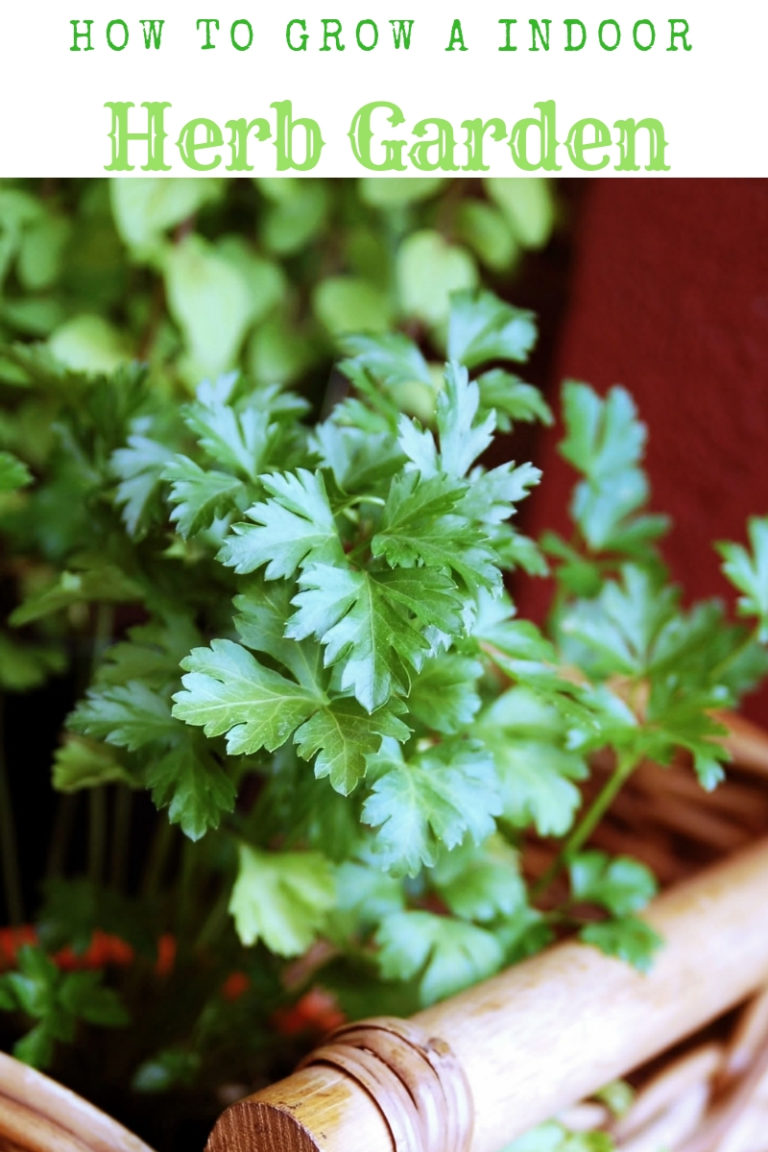
DIY, Designing + decorating your house to be your home
Do you love DIY, being creative, re-purposing things, designing, and decorating? You are in the right spot, turn your home into the house you have dreamed of!
.


Grab Your Free Printables
If you’re looking for FREE printables, you’ve come to the right place! I share free printables for all occasions! I have printables for home decor, holidays, kids and so much more!
Paint Tutorials
Here you will find tutorials on all sorts of paint, my personal favorite is Chalk paint. It is such an easy way to transform furniture and so much more.
I also have lots of tutorials on spray paint (another personal favorite) and traditional painting. It’s amazing how a coat of paint can instantly update any space or piece of furniture.


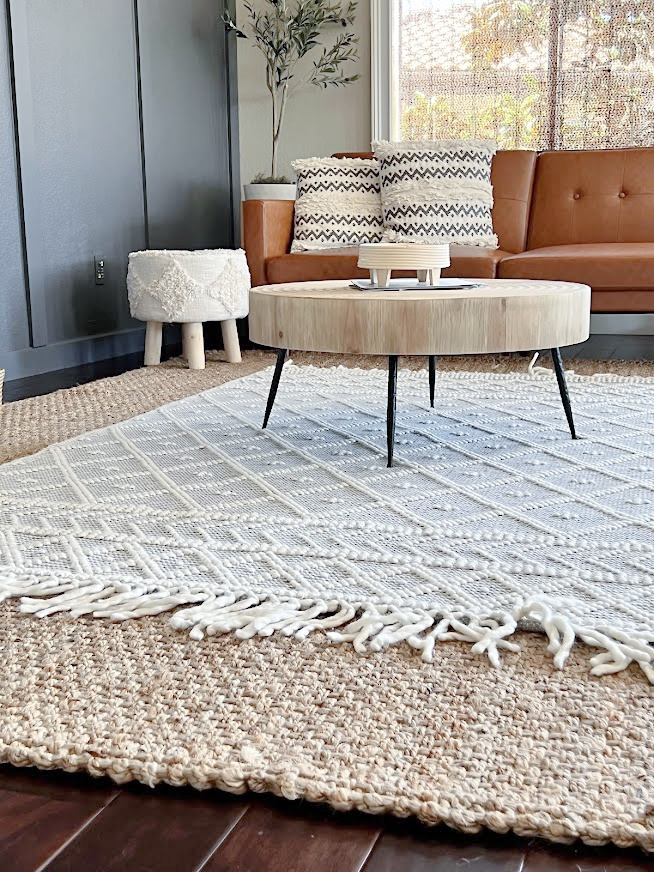
Loft Redesign Source List
Thank you for all of the kind comments on the loft redesign and wood accent wall, Ray and I truly appreciate it! A huge thank you to Ray for making my vision come to life! I thought I would share all of the sources, some were TJ Max finds so I found the closest match…
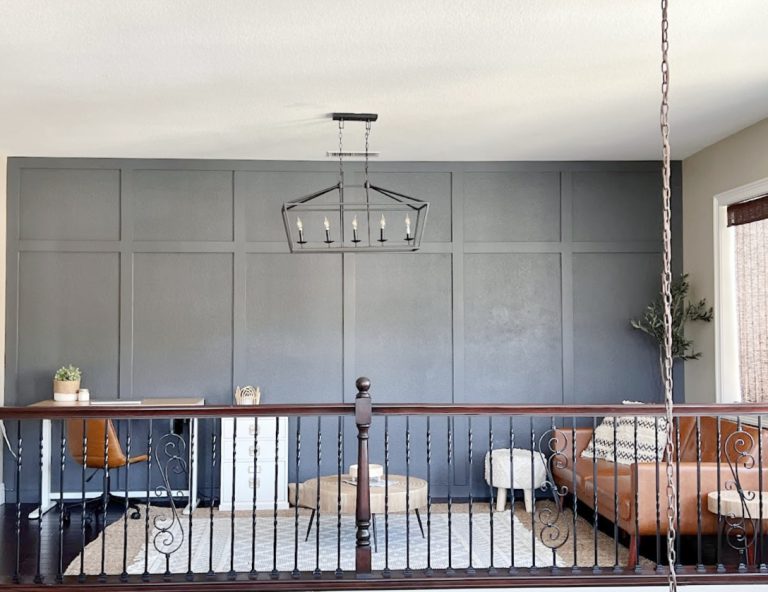
How to create A DIY Wood Accent Wall
Create a gorgeous DIY wood accent wall and completely change the look of your space. This project was simple, affordable, and fun to do! This traditional wall trim adds so much character to a builder-grade home and gives the space an instant update.